So, first of all I began thinking about the main sections of a Japanese room, which will be the building blocks of the Japanese themed levels. The main parts are the floor, walls and ceiling. I looked at various reference images, to try and see patterns and common aspects of Japanese minimalist interior design and saw that almost all of them had screens for doors and tatami mats for the floor, so I began working on both of these parts.


The Tatami Mats

 1. Grabbed a squared selection from the reference image.
 2. Warped the image so that the lines were straight, then used the offset filter in Photoshop to see how the edges lined up.
3. Used the clone tool to blend the edges into each other and adjusted the levels on one side to even out the saturation, then defined the image as a pattern. Then created a new 512x512 image, with guides at 50% horizontally and 50% vertically.

4. Selected the right hand sections of the texture and rotated them 90 degrees so that if the image is put next to a 180 degree transformation of itself, the pattern lines up seamlessly.

5. Grabbed a square sample of a reference image and, using the same technique as before, created a seamless patter, which I used to create a base for the material parts of the mats.


6. Altered the layer styles to give more of a sense of depth, shadow and differentiation between each individual matt. The main effects used were inner glow, drop shadow and gradient overlay.
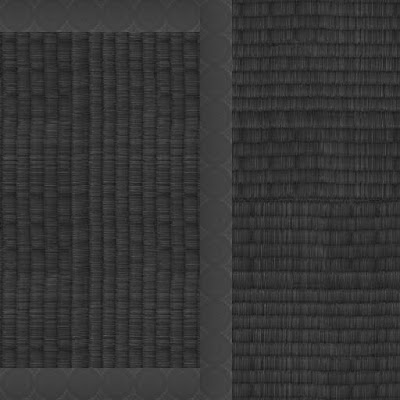 7. Inverted parts of the image and changed the colour mode to greyscale. I then removed some of the layer styles and altered them to represent the depth of the different parts and adjusted the levels to bring out certain features and remove the contrast from things, such as the patter on the material.
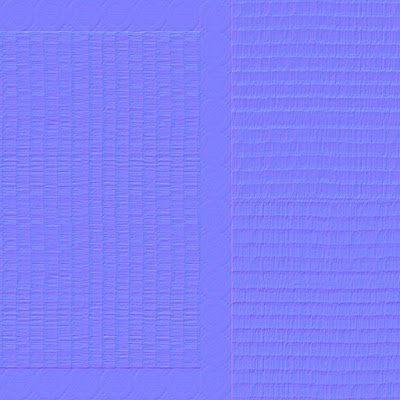 8. Used FilterForge to generate a normal map based on the greyscale bump map I had created before.
9. The final product. Because the floor doesn't require a complex, mesh and only needs a single 4 sided plane, it require no UVW mapping.
No comments:
Post a Comment